What to Bring on a Gravel Ride: Gravel Bike Gear Checklist
Knowing what to bring on a gravel ride is less about buying every accessory and more about covering the problems that actually happen off pavement: flats, changing weather, long gaps between shops, and rides that take longer than planned.
This checklist covers the gravel bike gear worth carrying on every ride, what to add for longer or more remote days, what to wear, and how to pack it so nothing rattles loose on rough roads.
If you are just getting started, our guide to gravel riding for beginners covers routes, skills, and your first ride.
The Quick Gravel Ride Checklist
Here is the short version. Everything on this list is explained in the sections below.
- Water: at least two bottles, more in heat or on remote routes
- Food: easy snacks you can eat while riding
- Repair kit: multi-tool, tire plugs, spare tube, tire levers, pump or CO2
- Phone with your route downloaded
- Lights, front and rear
- A packable wind jacket or vest
- ID, a payment card, and a little cash
For a short local loop, that is usually enough. For long or remote rides, add the extras covered later in this guide.
Why Gravel Bike Gear Matters More Off Pavement
Gravel rides often go further from help than a typical road loop. Shops, cafés, and phone signal can be far apart, and average speeds are lower, so the same distance takes longer.
Rough surfaces are also harder on equipment. Sharp stones cause flats, vibration loosens bolts, and dust and mud wear parts faster.
That is why "essential" depends on the ride. Some items belong on every ride, while others only make sense for longer distances, hot weather, or remote areas.

Water and Food
Carry more water than you think you need. On gravel, slower speeds and unexpected detours can stretch a two-hour ride into three.
Two bottles cover most short rides. On hot days or long routes, add a third bottle under the down tube or carry a small hydration pack. Check where you can refill along the way before you leave.
Bring food you can eat easily while riding, such as bars, gels, bananas, or rice cakes. A useful starting point is to eat something small every 30 to 45 minutes on rides over 90 minutes.
Pack a little extra. Running out of food far from a shop turns a good ride into a long, slow one.
Repair Kit Essentials
A small repair kit is the most important thing you can carry on gravel. Flats are more common off pavement, and fixing one yourself is usually the only way home.
Flat Repair
Carry tire levers, a spare tube, and a way to inflate it, such as a mini pump or CO2 inflator. If you run tubeless, add a tire plug kit, which seals most small punctures in under a minute without removing the tire.
Tubeless tires seal many small holes on their own, but they do not prevent every flat. A cut sidewall or a large gash can still need a tube or a tire boot, so carry both.
A CO2 inflator is fast, but each cartridge only works once. Many riders carry a mini pump as a backup.
Tools and Spares
A multi-tool with the right hex keys for your bike is essential, ideally with a chain tool. Add a quick link that matches your chain, so you can repair a broken chain on the trail.
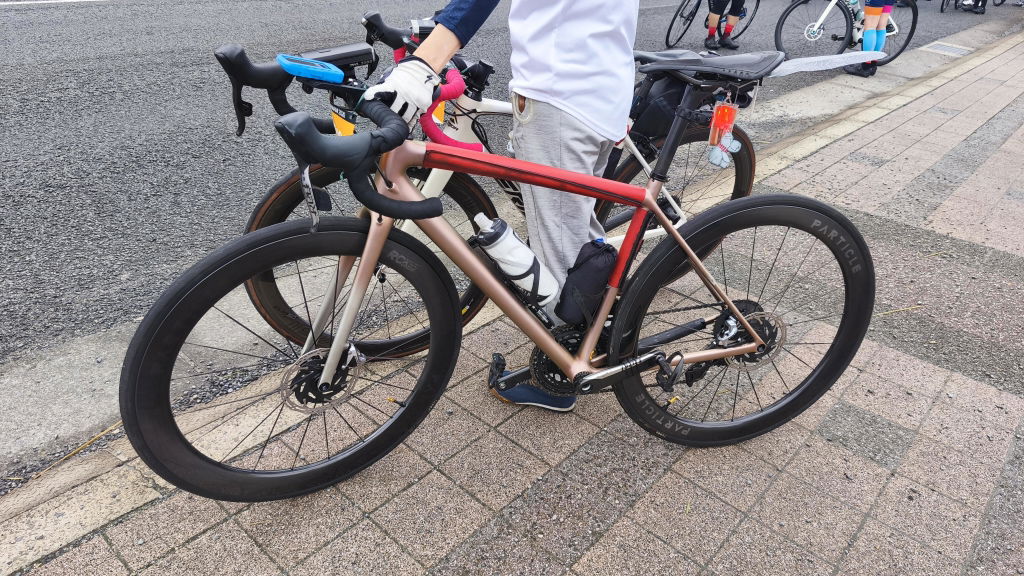
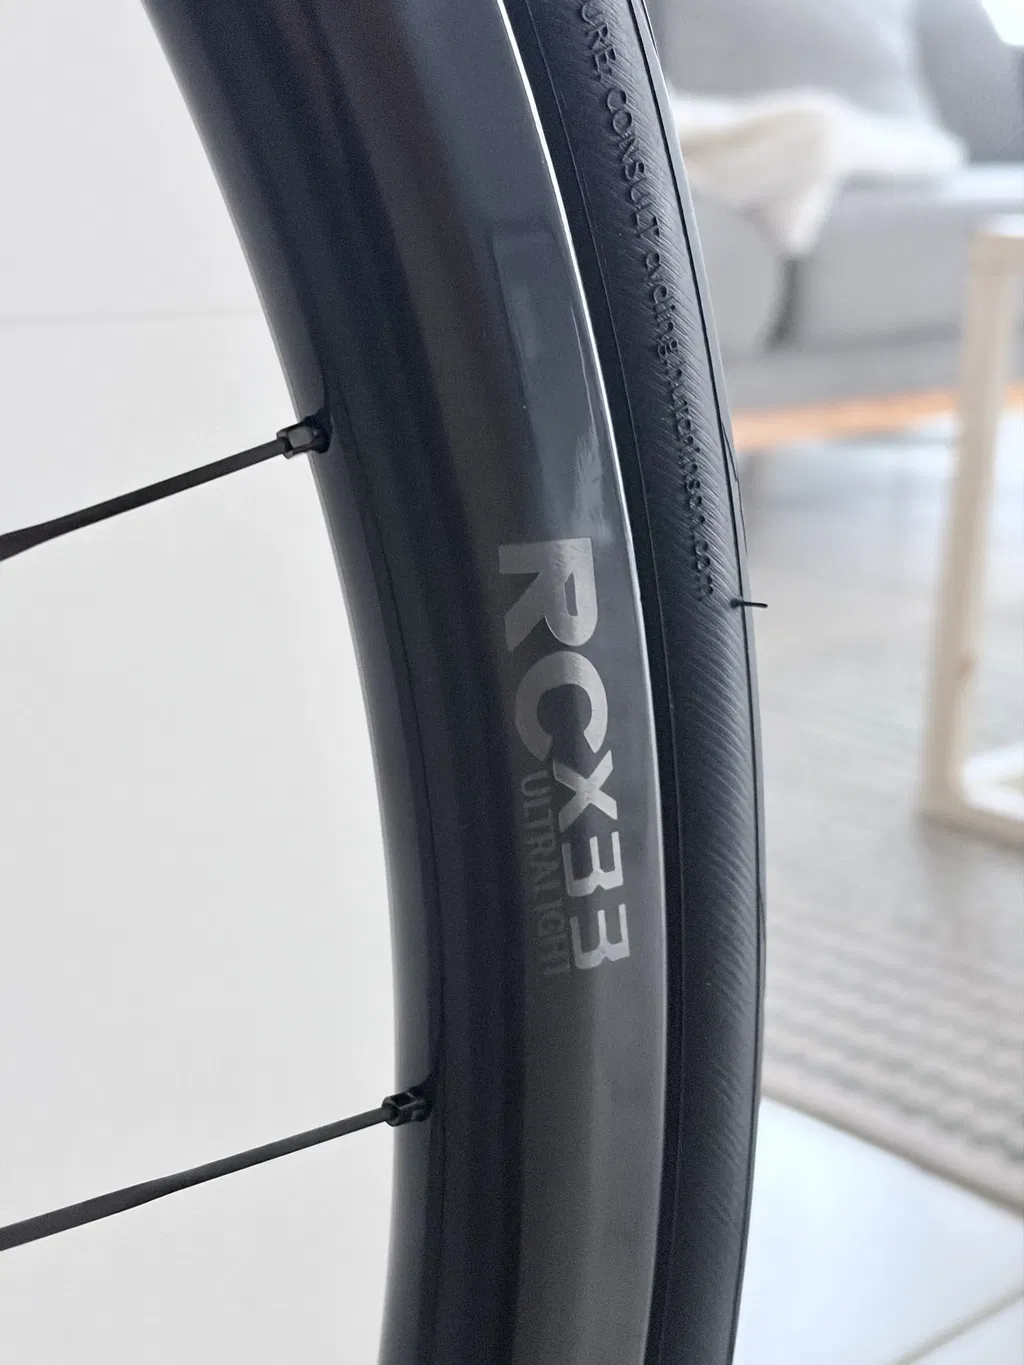
For long remote rides, it is worth carrying a spare spoke if your wheels allow it. Particle's 4th Generation Carbon Spokes can be replaced individually, and a spare weighs only a couple of grams.

Keep your kit organized in one small pouch or tool roll. That makes it easy to move between bikes, and you will not lose small parts like quick links and valve cores at the roadside.
Check the kit every few weeks. Patches dry out, CO2 cartridges get used and not replaced, and plug kits run low without you noticing until you need them.
Practice using your tools at home first. Fixing a flat for the first time by the side of a dusty road is much harder than it looks.
Navigation and Safety
Download your route before you leave, since phone signal is often weak on back roads. A bike computer with offline maps is easier to follow than a phone, but either works.
Gravel junctions can be confusing, and unmarked tracks often split in several directions. Check the map at every major turn rather than guessing.
Tell someone where you are going and when you expect to be back, especially if you ride alone. Carry ID, a payment card, and some cash for remote shops that do not take cards.
Bring front and rear lights even if you plan to finish in daylight. Dusty roads, tree cover, and slow sections can leave you riding later than expected.
What to Wear on a Gravel Ride
The right clothing keeps you comfortable as conditions change. Choose clothes for the way you ride and the weather, then adjust as you learn what your routes demand.
Close-Fitting or Relaxed Clothing
Close-fitting cycling kit suits fast rides and races. It manages sweat well and does not flap in the wind.
Relaxed-fit clothing, such as baggy shorts over padded liners and casual jerseys, suits adventure rides with more time off the bike. It usually has more pockets and feels less out of place at a café stop.
Either way, good padded shorts make the biggest difference to comfort. Our cycling shorts buying guide explains what to look for.
Layers for Changing Weather
Gravel conditions change fast. Long descents, shaded forest roads, and exposed ridges can all feel very different from the start of the ride.
Layers work better than one heavy jacket. A light base layer, a packable vest or wind jacket, and arm warmers cover a wide range of temperatures and fit in a jersey pocket.
Add a waterproof jacket if rain is possible, and full-finger gloves for cold mornings or rough descents. Glasses protect your eyes from dust and flying grit.
Bags and Storage
As rides get longer, where you carry things matters more. Gear needs to stay secure so it does not rattle, swing, or bounce out on rough surfaces.
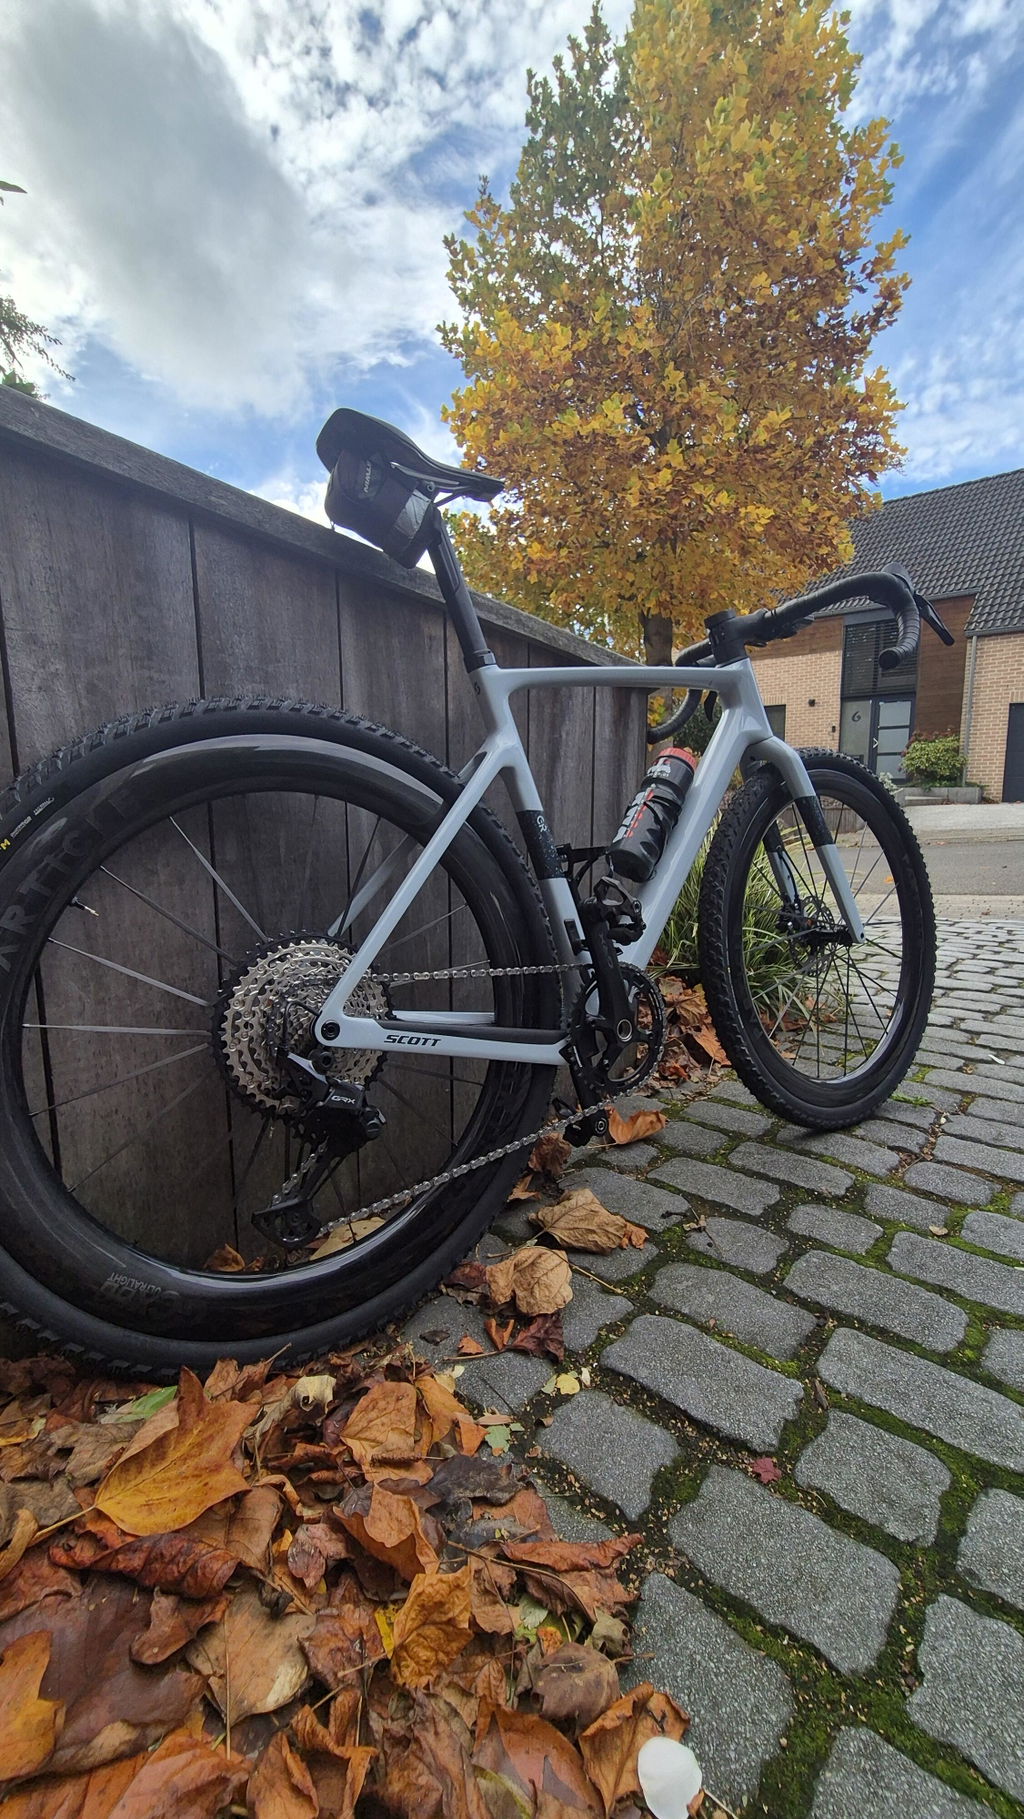
Use the frame's bottle and bag mounts where you can. Many gravel bikes have extra mounts on the fork and under the down tube for this reason.
Where to Carry Food and Tools
Keep the things you need often within reach. Food and gels fit well in a jersey pocket or a small top-tube bag, so you can eat without stopping.
Tools, a spare tube, and a pump or CO2 can go in a saddle bag or frame bag, where they stay protected and out of the way.
Keep your phone and keys somewhere they will not get crushed or wet. Bags with secure zips and straps are worth paying for, because vibration and dust loosen cheap ones quickly.
Extras for Long or Remote Rides
For rides over about three hours, or routes far from towns, add a few extras to the basic checklist.
Carry a second spare tube, a tire boot, extra CO2 or a better pump, and more food than you expect to eat. A small first aid kit with plasters, wipes, and pain relief is worth the space.
A battery pack keeps your phone and lights charged on very long days. A water filter or purification tablets can also help if refill points are scarce.
Plan bail-out points too. Knowing where you can cut the ride short, or where a train or taxi can pick you up, is part of being prepared.

Gear for Different Seasons
The basic checklist stays the same all year, but the weather changes what else you need. Plan your kit around the conditions you expect, plus a margin for change.
Hot Weather
Heat is the biggest risk on long summer gravel rides, because there is often little shade and few places to refill. Carry extra water and add electrolyte tablets or drink mix to replace the salt you lose through sweat.
Wear light-colored, breathable clothing and apply sunscreen before you leave, including on the back of your neck and legs. Start early to avoid the hottest part of the day.
Cold Weather
Cold rides need more layers than you would wear on the road, because slower speeds and stops make it easy to cool down. Bring thermal gloves, a warm hat or headband under your helmet, and overshoes or warm socks.
Keep a dry spare layer in a bag for stops. Warm drinks in an insulated bottle are a welcome extra on winter rides.
Wet and Muddy Rides
In wet weather, a waterproof jacket and mudguards make a long ride much more comfortable. Clear glasses keep spray out of your eyes when light is low.
Mud clogs tires and drivetrains quickly, so carry a small rag and keep your chain lubricated. After the ride, rinse the bike gently and dry it before storing.
Before You Leave: A Quick Bike Check
The best gear in the world will not help if the bike is not ready. Check a few things before every gravel ride.
Make sure the tires are at the right pressure and have no cuts. Particle's tire compatibility and pressure guide gives starting points.
Squeeze the brakes, check the bike shifts cleanly, and make sure the wheels and thru-axles are tight. Top up tubeless sealant every few months, because it dries out over time.
Tires make a big difference on gravel too. Our guide to choosing gravel tires explains how width and tread change the ride.
Comfort Upgrades Worth Considering
Once the essentials are covered, a few small upgrades make long rides noticeably easier.
A saddle that fits your body makes the biggest difference, and our saddle buyer's guide covers how to choose one. Thicker bar tape reduces hand fatigue on rough roads, and handlebars with flared drops add control.
These are about fit and contact rather than luxury. If your gravel bike feels harsh or awkward, start here before spending on expensive parts.
What to Buy First
If you are starting from nothing, buy in this order: a repair kit, bottles and cages, good tires, comfortable clothing, then storage.
Those five categories cover the most common needs without spending on gear you may not use. After that, add items based on the rides you actually do.
If your rides are long and hot, focus on carrying more water and food. If your roads are rough, focus on tires and repairs. If you plan to try an event, our guide to gravel bike setup tips for your first event covers race-day preparation.
Frequently Asked Questions
What is the most important gravel bike gear to carry? A repair kit, enough water, and a way to navigate. Those three solve most problems that end a gravel ride early.
How much water should I take on a gravel ride? Plan on roughly one bottle per hour in warm weather, and more in heat. Check refill points along your route before you leave.
Do I need a hydration pack for gravel? Not for most rides. Two or three bottles are usually enough. A hydration pack helps on long, hot, or remote routes with few places to refill.
What should I bring on a short gravel ride? For a ride of an hour or two close to home, carry one or two bottles, a small snack, a phone, and a basic repair kit with a plug kit or tube and an inflator.
What is the best way to carry a pump on a gravel bike? Mount a mini pump next to a bottle cage or carry it in a frame bag. Avoid jersey pockets for heavy items, since they bounce on rough roads.
Should I carry a spare tube if I run tubeless? Yes. Plugs fix most punctures, but a large cut can still need a tube to get you home.