Gravel Bike Setup Tips: How to Get Ready for Your First Event
Getting a gravel bike ready for your first event is less about copying a race bike and more about matching the bike to the course and to how you ride. A good gravel setup balances speed, control, comfort, and durability, so the bike feels calm on loose ground and efficient when the pace picks up.
The main decisions are gearing, tires, wheel size, cockpit, and fit. This guide works through each one, then finishes with a checklist for the week before the start. If you are new to the sport, our guide to gravel riding for beginners covers the basics first.
Start With the Riding You Actually Do
Begin with the kind of riding that will fill most of your time on the bike, and the kind of event you have entered. Smooth, fast courses with long open stretches reward efficiency: quicker steering, faster tires, and gearing that keeps your cadence steady at speed.
If your rides mix pavement and dirt and you want one bike for everything, versatility matters more than outright speed. If the terrain is rough, loose, or unpredictable, let comfort and control lead. A bike that stays composed on uneven surfaces is usually faster over a full day than one built for perfect ground.
Event length changes the priorities too. Shorter, harder events favor a lower position and clean acceleration. Longer events make fit, hand comfort, and tire volume more important, because small irritations add up over five or six hours in the saddle.
The best gravel bike setup tips all come back to this point: set the bike up for the course you will actually ride, not the one you wish every event would be.
Choose Gearing for Your Terrain
Gearing affects how controlled and efficient the bike feels, especially when the surface changes under you. There are two main options.
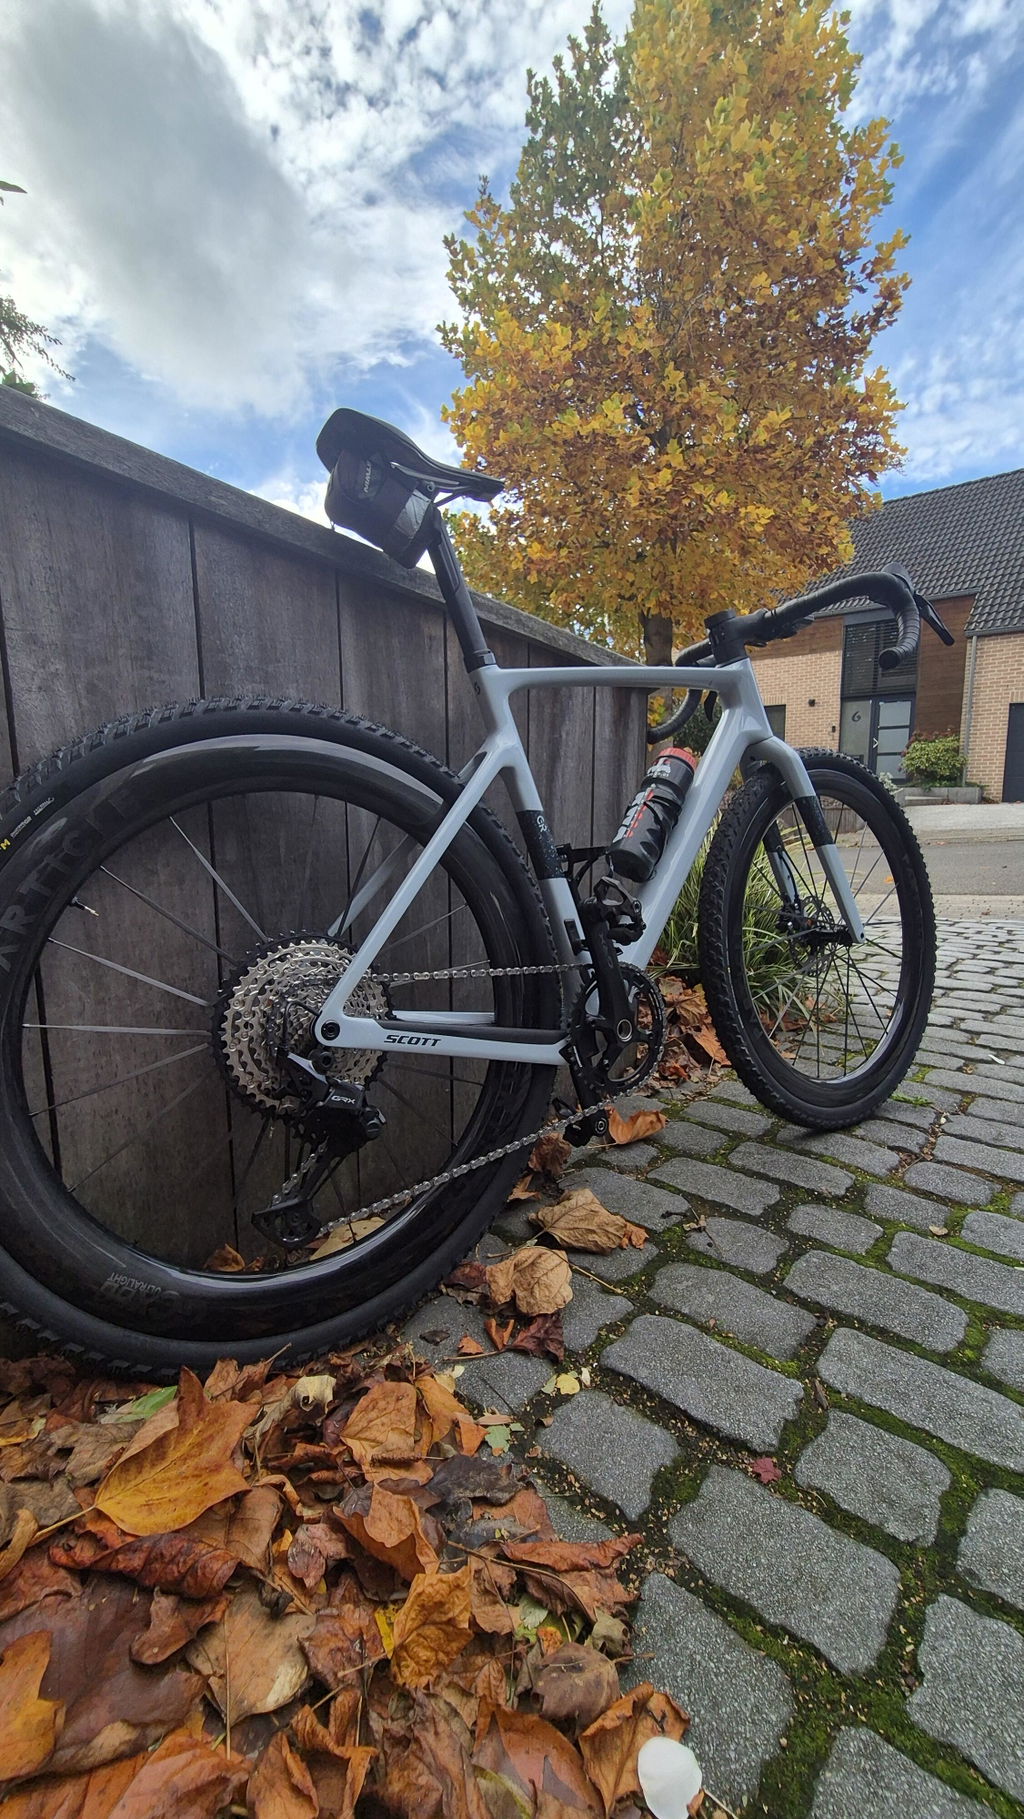
1x drivetrains use a single chainring. They are simple, quiet, and popular in gravel racing because there is no front shifting to think about and less to go wrong in mud.
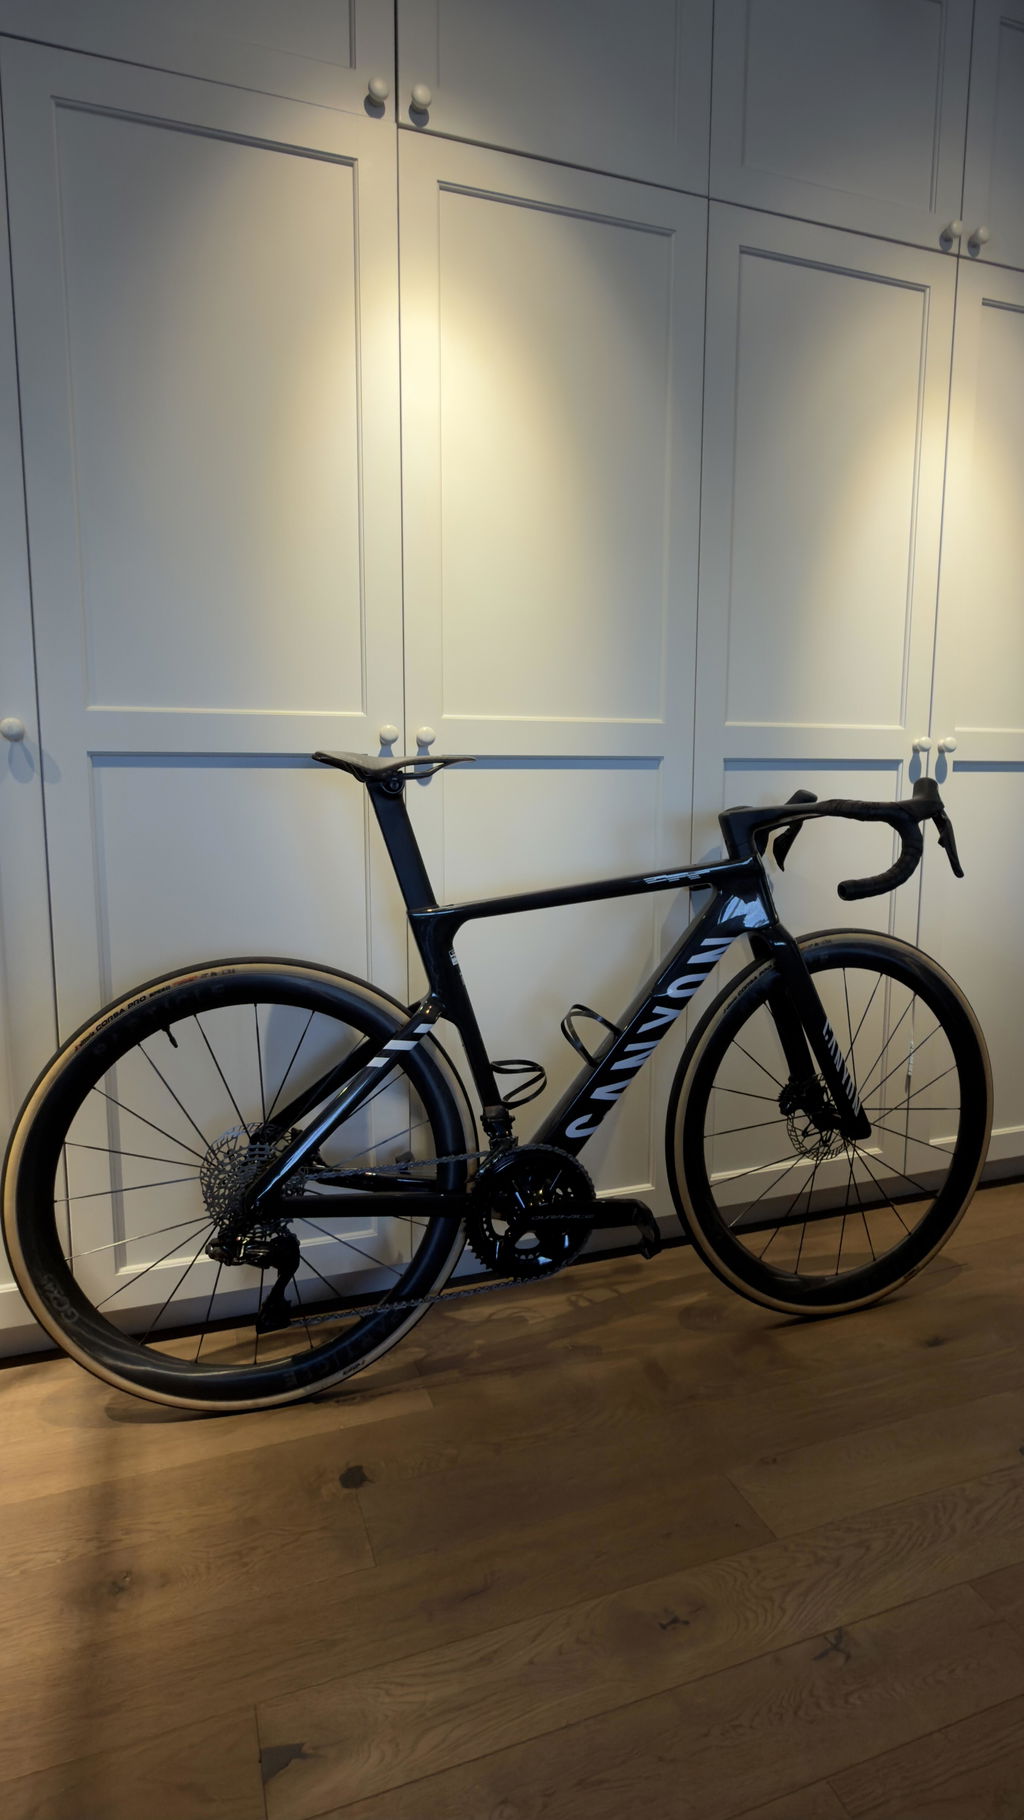
2x drivetrains use two chainrings. They usually give more total range and closer steps between gears, which helps riders who spend time on pavement or want finer control of cadence on flat sections.
Cassette range matters as much as the drivetrain type. A wide-ranging cassette gives you a bailout gear for steep or loose climbs, so you can keep pedaling smoothly when traction starts to fade. Pushing harder in too big a gear often just spins the rear wheel.
Chainring size should follow the same logic. A larger chainring suits flat, fast courses. A smaller one makes sense when the climbs are steep or the surface is slippery. Choose gearing for the hardest climb on the route, not the easiest section.
When Lower Gears Matter
Steep gradients, loose climbs, and loaded bikes all benefit from easier gears, because they let you stay seated and keep weight over the rear tire. Late in a long event, a low gear also saves your legs for the final hour.
If you are not sure whether your lowest gear is low enough, ride the steepest local climb you can find before the event. If you have to stand and grind, consider a bigger cassette or a smaller chainring.
When Closer Ratios Help
Faster riders often prefer smaller jumps between gears, because they keep cadence smooth through accelerations and long efforts. That matters on hardpack courses and in groups where the pace rises and falls quickly.
If your event is mostly smooth and fast, a closer-ratio cassette can feel more refined than a very wide one with large gaps between gears.
Tires: Grip, Speed, and Protection
Tires are one of the biggest setup gains you can make, because they affect grip, comfort, speed, and flat resistance at the same time. Our full guide on how to choose gravel tires goes into width, casing, and tread in detail. Here are the points that matter most for event day.
Width and Tread
Wider tyres let you run lower pressure, which adds comfort and puts more rubber on the ground. That means better traction when cornering on loose gravel and more confidence when braking on mixed surfaces. Narrower tires can feel quicker on smooth gravel, but give up comfort as the surface gets rougher.
Tread should follow the conditions you expect. A file tread or low-profile knobs work well on dry hardpack, where low rolling resistance matters most. More aggressive tread makes sense for mud, deep loose gravel, or wet turns, because it gives more grip when you lean the bike over.
Casing matters too. A tougher casing adds puncture protection on sharp rock and broken tracks. A lighter, more supple casing feels livelier on smoother routes. If you do not know the course, check the event's website or ask riders who have done it.
Tubeless and Pressure
Tubeless tires are popular for gravel because you can run lower pressure without pinch flats, and sealant closes most small punctures as you ride. Top up the sealant a few days before the event, not the night before.
Lower pressure gives more grip and a smoother ride, but too little makes the tire squirm and risks hitting the rim. Pressure depends on rider weight, tire width, rim width, and terrain. Start from the figures in our tire compatibility and pressure guide, then adjust in small steps on familiar roads.
700c or 650b Wheels
Wheel size changes the feel of the bike in a simple way. 700c wheels roll over bumps more easily and carry speed well, which makes them the default for most gravel bikes and most events.
650b wheels have a smaller rim diameter, which leaves room for higher-volume tires in the same frame. That suits very rough routes, but most riders will be better served by 700c with a tire around 40–45mm.
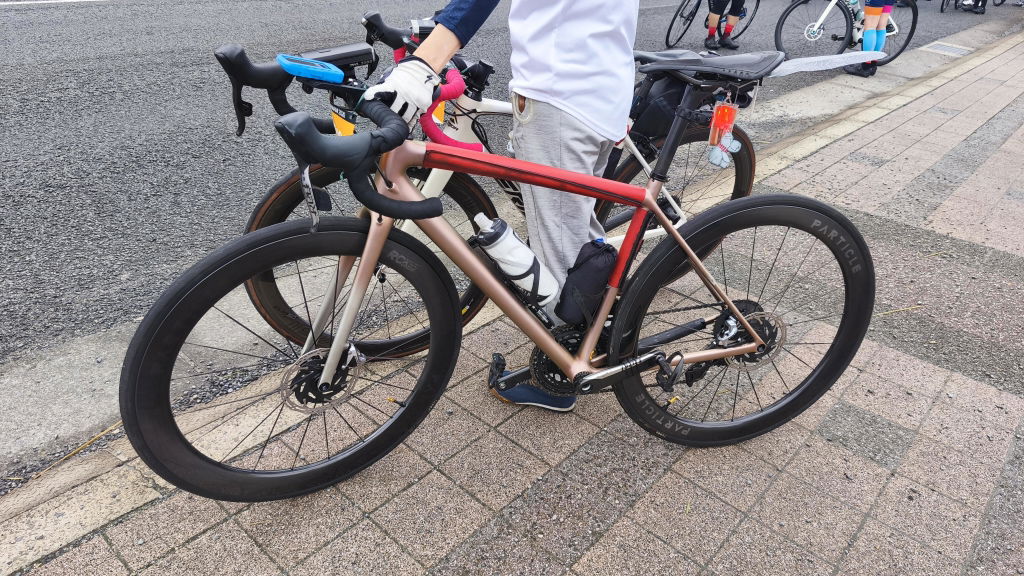
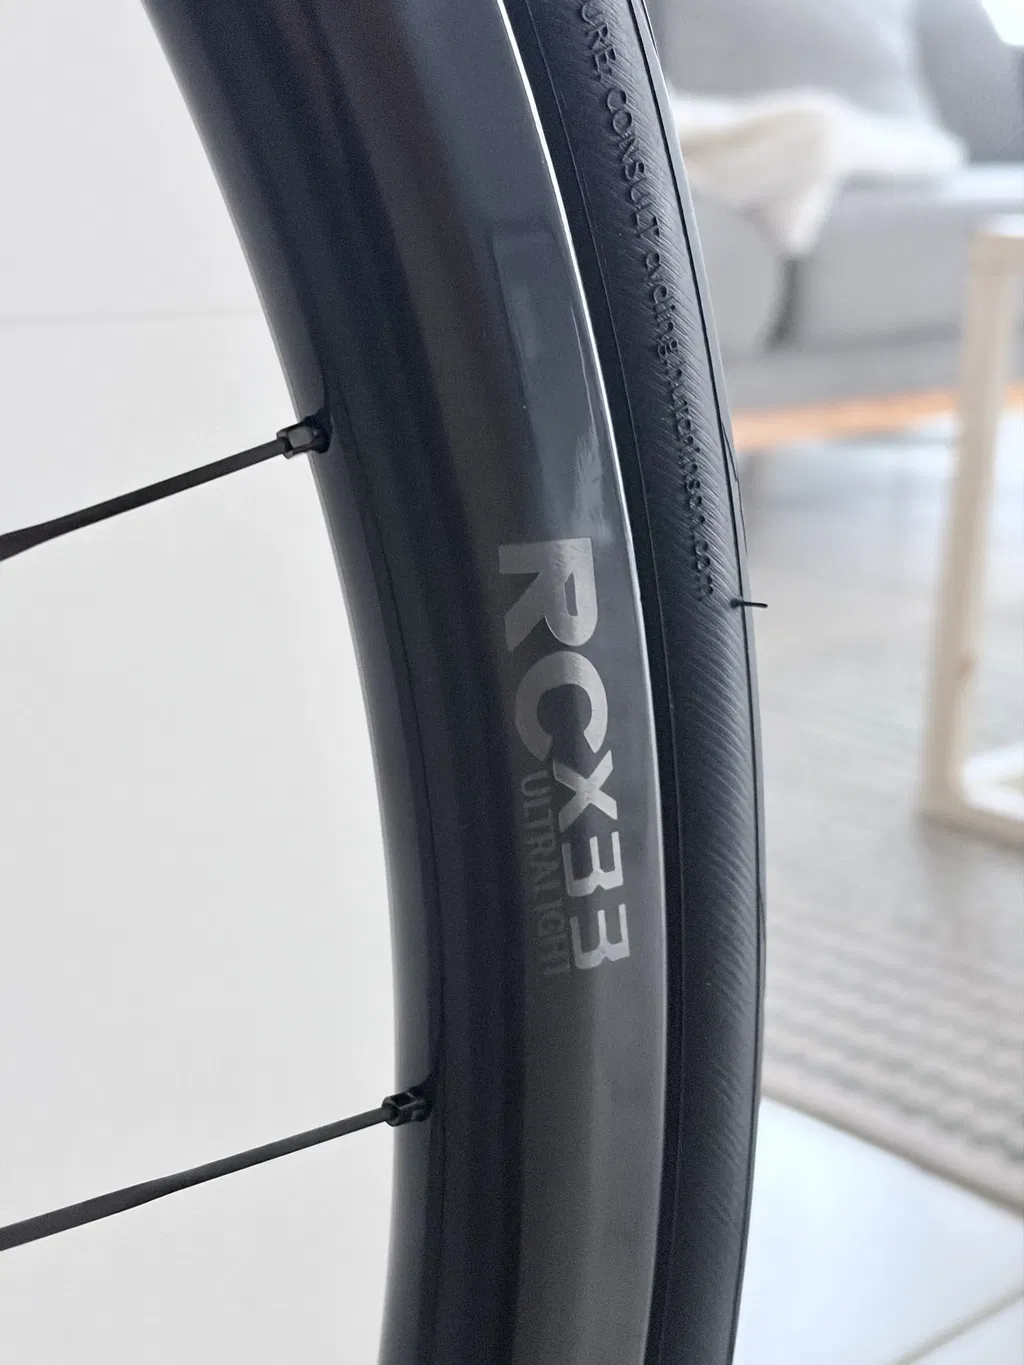
Rim width also affects how the tire behaves. Particle's GCX gravel wheels have a 25mm internal width, which suits tires from the mid-30s to low-40s. The WCX Ultralight has a 32mm internal width to support tires of 42mm and up. Our best gravel wheels guide compares the options.
Whatever size you choose, make sure the tire fits your frame with clearance left over for mud.
Set Your Bar Position and Cockpit
The front of the bike shapes how confident you feel more than many riders expect. Stem, bar width, and bar height all affect steering, comfort, and stability when the surface gets choppy.
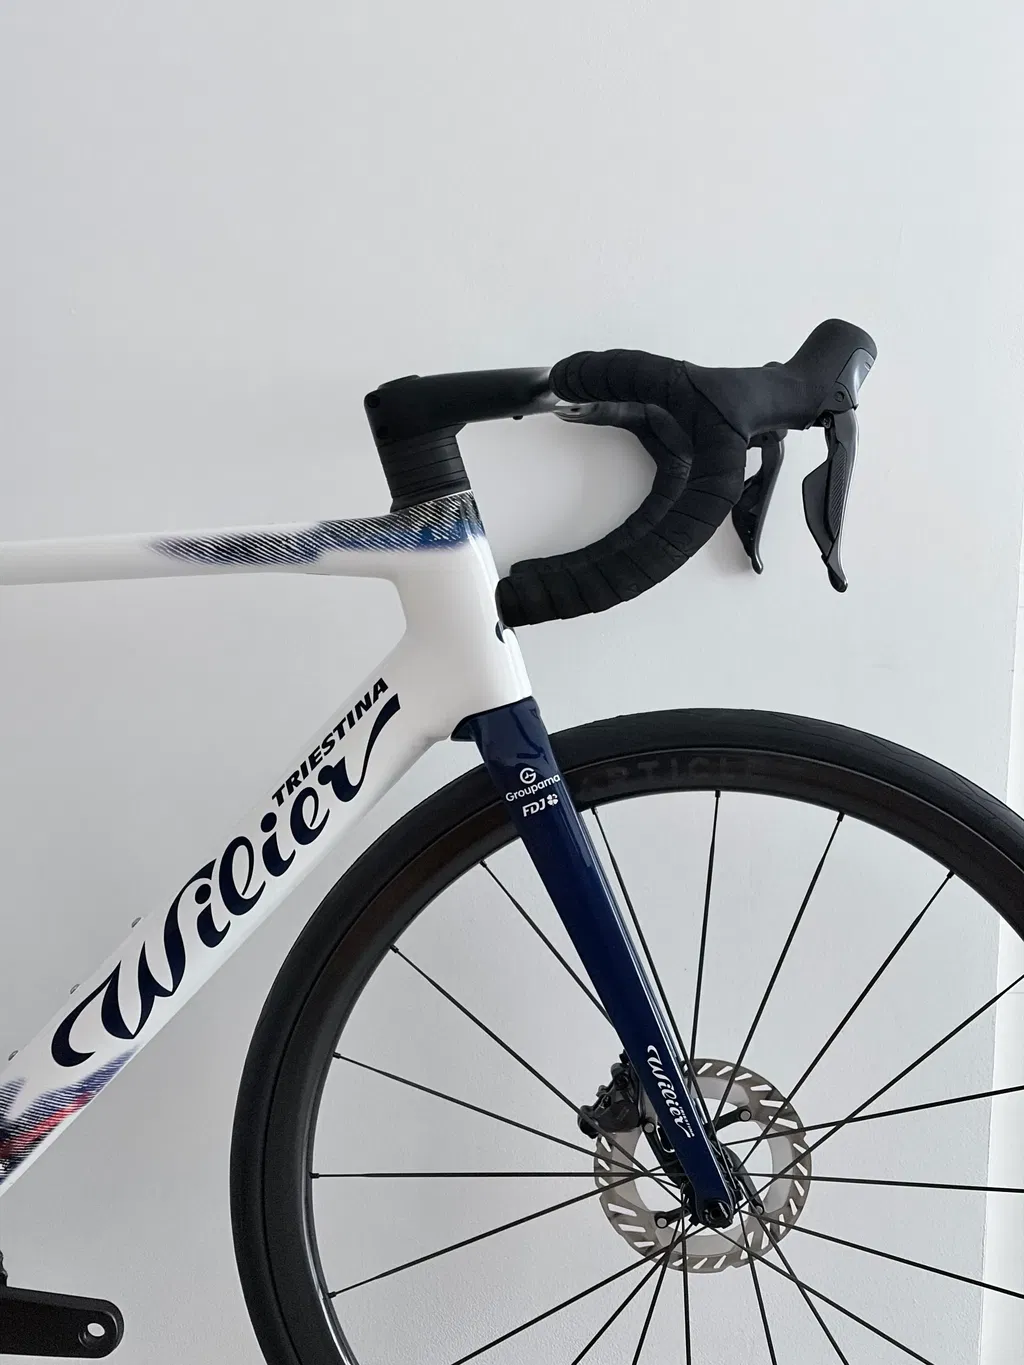
Bar width should give you control without pushing your shoulders too wide. Wider bars add leverage on rough descents, while narrower bars can feel more efficient on long paved sections.
Flared handlebars are popular on gravel bikes because the drops angle outward, giving a wider, more stable grip on loose descents. For more detail, see our guide on how to choose gravel bike handlebars.
Comfort is not a luxury on a long event. Thicker bar tape, well-placed brake levers, and several natural hand positions all reduce fatigue in your hands and shoulders.
Stem and Reach
A shorter stem makes steering quicker and reduces reach, which helps many riders feel more in control on technical ground. A longer stem slows the steering, but if it leaves you stretched out, you will usually lose more control than you gain.
If you feel pressure in your hands or lower back, the front end may be too long or too low. A small change in stem length or a spacer under the stem is often enough to fix it. Make these changes weeks before the event, not days.
Saddle Height and Gravel Bike Position
Gravel bike geometry is usually more relaxed than a road bike's, with a taller front end and a longer wheelbase for stability. That gives you a good starting point, but your position still needs to suit your body.
Saddle height should let you pedal with power without rocking your hips side to side. On gravel, it also needs to feel stable when you stay seated over rough ground.
A comfortable saddle matters more on gravel than on the road, because you spend more time seated on climbs and bumpy sections. If your current saddle causes pain on long rides, sort it out before the event.
Reach affects how the bike handles when you move your weight forward or back. Too much stretch makes the bike hard to manage; too little limits your power. For a step-by-step approach, our bike fit guide covers saddle height, setback, and reach.
Before buying new parts, try simple adjustments to saddle position, bar height, and stem. They often solve the biggest problems with a gravel setup for far less money.
Do You Need a Gravel Suspension Fork?
A gravel suspension fork adds a short amount of travel at the front, usually 30–50mm. It can take the sting out of washboard and rocky descents, and some riders find it reduces hand and arm fatigue on long, rough events.
The trade-offs are extra weight, cost, and maintenance. For most first events, wider tires at the right pressure and a comfortable cockpit do the same job well enough.
If your bike already has one, set the sag and rebound before the event and ride it on similar terrain so you know how it behaves.
Tune the Setup for Racing, Mixed Roads, or Adventure
The same bike can be tuned for different jobs, but each version should prioritize something specific.
For gravel racing, focus on fast-rolling tires, sharp handling, and a lighter feel. That usually means faster tread, closer gear ratios, and a clean cockpit that supports fast riding without clutter.
For mixed-surface road rides and endurance events, comfort and steady cadence move up the list. Choose tires and pressures that stay efficient on pavement without feeling harsh on dirt.
For adventure events, think durability, lower gears, and stability. Mounts, bags, and lights become more useful when the day is longer and navigation matters. A slightly calmer setup is worth more than a small gain in speed.
You do not need separate bikes for each job. You just need to decide which traits matter most for the event you have entered.
Gravel Bike Setup Checklist for Your First Event
The week before your first event is for checking the bike, not changing it. New parts can hide problems you only find halfway through the course.
Two to three weeks out: finish any changes to tires, gearing, stem, or saddle, then ride the bike on terrain similar to the course.
One week out: check tire wear and cuts, top up tubeless sealant, and make sure the chain is clean and lubricated.
A few days out: check that thru-axles are tight, brake pads have life left, and the wheels spin true. With Particle wheels, check that no carbon spokes are damaged; the 4th Gen spokes are individually replaceable if one is.
The day before: set your tire pressure, charge your bike computer and lights, and load the route.
On the morning: check pressure again, and make sure your repair kit, water, and food are on the bike.
For a full packing list, see our guide on what to bring on a gravel ride.
Test and Fine-Tune After Every Ride
Fine-tuning works best when you change one thing at a time. Try a different tire pressure, then a small cockpit adjustment, then gearing if you still need it. That way you know what actually made the difference.
After each ride on familiar roads, ask how the bike felt on climbs, through corners, and over uneven surfaces. If one area still feels wrong, adjust it in small steps rather than starting again.
Keep notes on what pressure, gearing, and cockpit position worked best for each route and type of weather. Over time, those notes turn your setup into something repeatable instead of a guess.
The goal is not a perfect answer for every course. It is a bike that suits your body, your terrain, and the way you ride.
Gravel Setup FAQ
What is the most important part of a gravel setup?
Tires and tire pressure make the biggest difference for most riders. The right width and pressure give you more grip, more comfort, and fewer flats, and they cost less than any other upgrade.
Should I change my setup before my first gravel event?
Make any changes at least two weeks before the event, then ride the bike enough to be sure they work. Avoid fitting new tires, saddles, or stems in the last few days.
What tire pressure should I run for a gravel event?
It depends on your weight, tire width, rim width, and the course. Start from a pressure chart, then lower it in small steps until the bike feels planted without the tire squirming or the rim hitting rocks. On rough, rocky courses, do not go too low, because a little extra pressure protects the rim and prevents pinch flats.